Umbrella Knowledge Base
Veeam: Create Recovery Media
Estimated duration: 15–20 minutes, depending on the size of the recovery media.
- Open Veeam “Create Recovery Media” Software
- Click Start
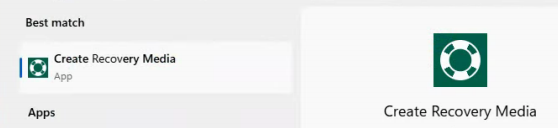
- Search for Veeam Agent for Microsoft Windows
- Open the app (green shield icon) * See figure 1a below.
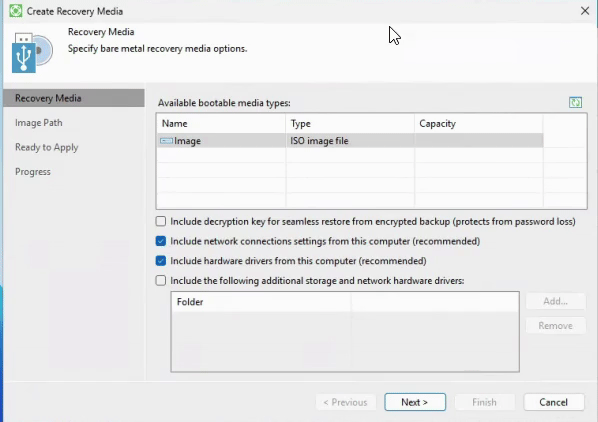
- Select Bootable Media: ISO
- Select the Components to Include
- Veeam will show options such as:
- Include decryption key for seamless restore from encrypted backup.
- Include network connections settings from this computer.
- Include hardware drivers from this computer
Include the following additional storage and network hardware drivers.*
- Select Options 1 through 3, leaving the 4th checkbox unchecked.
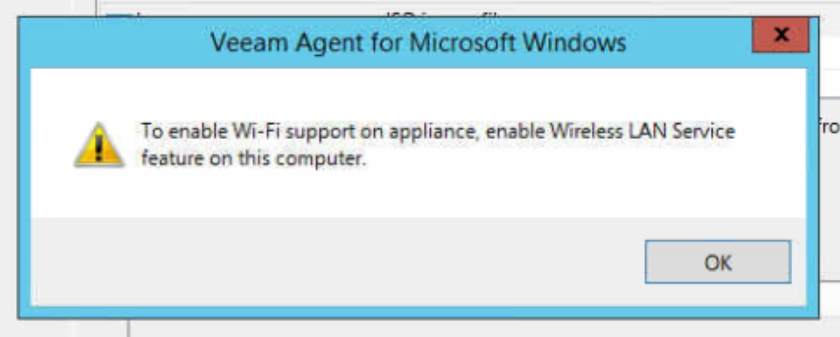
- * If prompted about “To enable Wi-Fi support on appliance, enable Wireless LAN Service feature on this computer” (Figure 1c) error, click OK and proceed, unless the PC is a laptop and might be dependent on Wi-Fi and in need of the proper hardware drivers for a restore.
- Veeam will show options such as:
- Choose the Destination
You’ll be asked where to create the recovery media:- Click Browse
- Save to the local user’s desktop.
* Be sure to add the client’s name to the end of the file after the server name. - Click Next
- “Ready to Apply” Panel
- Click “Create”
- Click “Finish”
- Finally, upload the .iso file of the Recovery Media to our Google Shared Drive Folder dedicated to Veeam recovery media in “Shared Drives: Client Information > – Backups [Files] > Veeam Recovery ISO’s“